You’ve practiced for hours and now feel that you and your horse are well on the way to becoming a solid cohesive unit. You’re ready to compete in shows, move up the ranks, or head for the trails with confidence. If you want to continue to build a trusting partnership with your horse and further hone horsemanship, precision, and ground manners, the next step is to design and build a safe and challenging obstacle course.
Here, we give you several horse obstacle course ideas, helpful tips on designing your course, safety precautions, mistakes to avoid, and things to keep in mind when practicing on your obstacle course.
SAFETY FIRST
Always keep safety in mind whenever you’re implementing your horse obstacle course ideas.
Before every practice session, be sure the area is clear of any rocks, debris, sharp objects, and any elements that could cause injuries to you or your horse. Any elevated plywood sheets placed over lumber or hard platforms need to be thick and sturdy enough to support you and your horse’s weight. Consider adding more cross pieces for good measure, and ensure all obstacles are anchored firmly to prevent them from shifting or tipping over. Tarps should be fastened securely to fence boards and jump poles to eliminate any chance of wind causing them to lift upwards and make contact with your horse mid-jump.
PLOTTING YOUR COURSE
Whether it’s for recreation, training, or competition, designing an obstacle course for your horse can be highly enjoyable and rewarding. Here are a few tips on how to make an engaging, well-designed course.
Consider the amount of space available
The designs of most horse obstacle course ideas are often based on patterns from arenas that may or may not be to scale. If you’re plotting a course based on an existing design, you have to take into consideration your arena’s overall size, the footing, the space needed to clear each obstacle, and the amount of space you’ll need between each obstacle.
Avoid creating a pattern that provides an unnecessary challenge for you and your horse due to poor spacing. A properly designed course provides consistent and ample space for a horse and rider to perform maneuvers smoothly.
Establish specific training objectives
When designing an obstacle course, one of your goals is to create a layout that will challenge your horse’s abilities and sharpen horsemanship skills.
Set training objectives you want to achieve. For example, do you want to boost confidence, shorten response time to cues, improve balance, or practice advanced maneuvers? Establishing training goals at the start will help you design a course with obstacles more aligned with your objectives.
Utilize the terrain
You can use the natural terrain to your advantage to enhance the experience for you and your horse. Examine the landscape and natural features within your property and take note of any hills, slopes, trees, rocks, valleys, and open areas. You can incorporate these elements into your course to make it more versatile, engaging, and realistic.
Utilizing existing terrain elements is a great way to mimic real-world obstacles and riding conditions that you might encounter while navigating trails or exploring different environments. Practicing with natural terrain will increase confidence, develop muscles, and improve balance and coordination for your horse.
Take experience into account
Tailor your obstacle course to you and your horse’s level of experience.
Novice riders and young horses should start with simple and non-threatening obstacles. Tackling basic challenges is a great way to increase your horse’s confidence and improve your control and communication as a rider. Simple obstacles like low jumps and walking over a tarp are good obstacles to start with.
If you’re an advanced rider with a well-trained horse, go with obstacles that demand accuracy, develop agility, and fosters even more trust between rider and horse. Create a course with complex pole patterns, jumps with multiple configurations, and obstacles that require high-level maneuvers like side passing, rollbacks, or collection.
You don’t have to tear down your entire course if you want to increase the difficulty! You can make some obstacles adjustable by using various height settings or spreading cones at different distances to modify the course.
Don’t hesitate to ask for advice
Seek out local judges, seasoned exhibitors, professional trainers, and other enthusiasts in your local area for help in creating your obstacle course.
If you’re new in town, drop by local shows, competitions, and equestrian events. You’ll likely meet people there who will be more than happy to share their wealth of experience and offer tips and advice. They can give you more horse obstacle course ideas, help you create better patterns, or review ones you’ve already created.
EASY HORSE OBSTACLE COURSE IDEAS
You don’t need elaborate pieces to build an obstacle course. Many of the best obstacles can be made with inexpensive store-bought items placed strategically around your riding area.
Trail class obstacles
For shows within a specific breed association, start by getting a copy of the show rulebook of your particular breed so you have detailed information on the type of obstacles used in the course. Every association will provide a list of all mandatory and optional trail class obstacles. The show committee typically chooses six to ten obstacles from this list.
Some of the most common requirements in shows include traversing a bridge, opening and passing through a gate, riding at a designated gait past a couple of poles, completing a back-through, and performing a side pass.
Bridges
While a raised bridge serves as an excellent obstacle, it’s best to start your horse with a sheet of plywood laid flat on the ground and gradually make your way to a more challenging bridge as your horse gains more confidence and experience.
You can make two bridges from a single sheet of plywood simply by painting one side with a bright color accentuated with vivid stripes and then flipping the board every so often. While it might seem like an insignificant change for us, to a horse, it might feel as if they’ll be walking on uncharted territory.
Poles
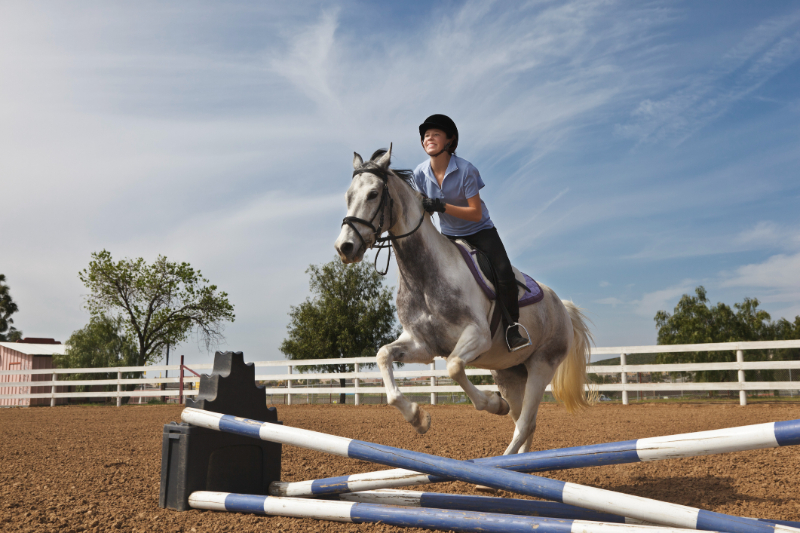
You’ll also need to collect some poles. Start with around 10 to 12, and then add more as you and your horse progress in training.
Poles are the most versatile component you can use for creating an obstacle course. Step-overs, the back-through, the side pass, and box obstacles are all made possible by poles. You can even add them to existing obstacles like gates or bridges to increase their difficulty. However, keep in mind that there are rules regarding height.
If raised poles are used, some obstacles will need to be wider to make them negotiable. They also need to be secured so that they do not shake from contact.
Gates
If you can handle your arena gate from the saddle, consider using it as part of your course. Just ensure that there are no sharp edges that could injure your horse should they bump into the sides of the gate.
In addition to your arena gate, set up a basic rope gate, which is used in many shows. Construct a rope gate from two jump standards or uprights placed around six to eight feet apart, and then fasten one end of the rope to one of the uprights. Make a loop at the other end to secure the rope on the second upright. Set a wooden peg or dowel about six inches from the top of the upright to prevent the rope from sliding down.
Practice using the gate from both directions and back through.
Cones
You can use traffic cones for serpentines and different back-through variations. If you don’t have cones, you can make use of common items you have around your house, like medium-sized plastic plant containers. Just make sure to secure them with rocks or dirt so they won’t get moved around by strong gusts of wind. Paint cans, buckets, and other large containers can also be used as cones. Almost needless to say, no spiky or sharp objects.
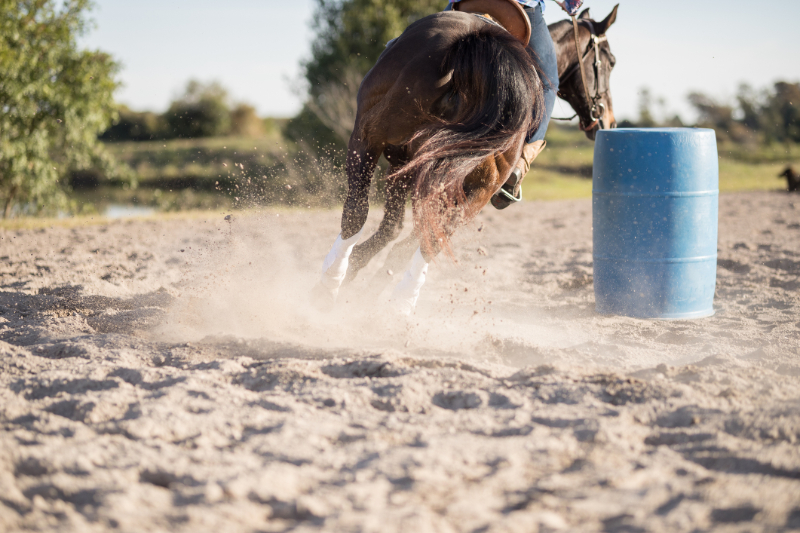
Water Hazards
Disciplines like eventing, show jumping, and western trail courses use water hazards. A full-scale water hazard with a plastic trail typically costs about $300 to $500, but there’s an easier and more affordable alternative.
To make your water a hazard, you’ll need a heavy-duty tarp and four pieces of square wooden posts. Decide how large you want your water hazard to be by spreading your tarp on the arena floor and folding its edges until you find a suitable size. Keep an allowance along all sides as you will need to wrap the tarp around the wooden frame made from your posts.
After creating your wooden frame, cover it with the tarp by lining the insides first and then covering the outer wooden frame. After, tuck the edges under the frame’s outer edges. You can now fill your hazard with water and introduce your horse to the new obstacle.
OTHER ITEMS AND ACCESSORIES YOU CAN USE FOR YOUR OBSTACLE COURSE
There are numerous budget-friendly and readily available items you can use to design an engaging horse obstacle course.
Toy gun
A six-shooter cap gun from a toy store or costume shop can make an excellent obstacle, especially for horses who aren’t used to reacting to actual gunfire. It’s a lot safer and cheaper than shooting blanks from a 22 pistol.
Avoid using earlier versions of cap guns (the ones using paper rolls of caps), as they tend to misfire and are not as loud as newer versions that use round red discs.
Pinwheels
Pinwheels are a cheap and easy way to add more motion and color to any obstacle. You can also use them to create a path for your horse. You can place them on top of cones, line your bridge, and place them on top of rope gate obstacles.
Pink beach balls
Pink-colored beach balls can be used to desensitize your horse to things moving on the ground and can prepare them for various situations.
Simply move the ball around your horse to help them stay connected and build confidence in you as their leader. You can get your horse used to the ball by tossing it over them, rolling under, behind, and bouncing it around and against them. One of the most effective ways to desensitize them to the ball moving within their space is to bounce it against a fence or surface and stop it before it reaches your horse.
With enough repetitions, you’ll get your horse to stay calm and relaxed the entire time.
PRACTICING ON YOUR OBSTACLE COURSE
Start with simple maneuvers
Before introducing your horse to obstacles, start with simple maneuvers first, like a single pole to side-pass over, then gradually work up to more advanced patterns like the “T” or “W”. Avoid trying to do too much early on, as this can discourage your horse.
If your horse is uncomfortable with a certain obstacle, practice another one until they get the hang of it, then go back to practicing the previous one.
Alter the obstacles
Each time your horse accomplishes a task with ease, change something with the obstacles to give it a reasonable amount of challenge, like walking across an empty water hazard multiple times before attempting it while filled with water. But remember to assess the degree of difficulty thoroughly beforehand, as what might seem like a slight bump in difficulty might be an extremely frustrating challenge to your horse.
The key is to keep it interesting while changing how they anticipate obstacles and patterns. You can practice the course from either end, starting your session from the gate one day, and finishing at the gate on the next.
You don’t have to rearrange the obstacles every time you practice, just make up different pre-set orders for every session. Instead of getting used to a pattern, you want your horse to learn by repetition, teaching them how to approach and move past every obstacle.
Teach patience by pausing
Remember to pause at certain points whenever you’re practicing an obstacle. A moment of hesitation before signaling to proceed is a great way to instill patience in your horse.
Some horses are eager to please, some get bored quickly, while others just want to finish practice sessions. In any case, the tendency for them is to rush through obstacles, which typically results in knocks and ticks.
Practice difficult maneuvers away from obstacles first
If you feel ready to increase difficulty, practice complicated maneuvers like haunches, side-passes, backing, and turn on forehand away from your obstacles first. These moves are already challenging enough without any stumbling blocks in the way.
BENEFITS OF OWNING A HORSE PROPERTY IN LAS VEGAS
In addition to having an obstacle course right outside your door, owning a horse property in Las Vegas offers other unique benefits, such as:
- Living with your horses – Among the top benefits of owning a horse property is you get to live with your horses – a dream come true for any passionate horse owner! Having your horses nearby allows you to closely monitor their nutrition, medications, physical condition, and training and exercise schedules.
- Excellent investment – Equestrian properties typically encompass several acres of land with values that continually appreciate over time. Adding a luxury home and onsite equestrian facilities further increases the value of your property, which makes it an outstanding long-term investment.
- Potential income – If your property includes a barn with numerous stalls, you can use that to generate additional income by starting a horse boarding business.
- More affordable maintenance costs – Caring for your horses within your property will be financially advantageous for you since you won’t need to pay for monthly boarding facility fees.
FIND YOUR DREAM HORSE PROPERTY IN LAS VEGAS TODAY!
Browse the best selection of horse properties by working with me, Terri Gamboa, the #1 ranch and land property specialist in Las Vegas. Whether you’re looking for a luxury home on acreage, an impressive equestrian estate, a small horse property, or vacant lots and land, you can count on my wealth of experience and expertise to help you realize your real estate goals.
Get in touch with me today at 702.528.5473 or send me an email. I’d love to hear from you.